How to Fix WordPress Maintenance Mode Stuck Issue (Step-by-Step Guide)
Sometimes when you update your WordPress website—whether it’s a theme, plugin, or even WordPress itself—the site goes into what’s called “maintenance mode.” This is a normal process that helps prevent issues while the update is happening. However, things don’t always go as planned. If the update is interrupted or fails midway, your website might get stuck on a message like: “Briefly unavailable for scheduled maintenance. Check back in a minute.”
This message can be confusing and frustrating, especially if you don’t know what caused it or how to remove it. The good news is that this is a very common issue and there’s a quick fix that anyone can do—even if you’re not a tech expert. In this guide, I’ll walk you through the simple steps to get your WordPress site back up and running in just a few minutes.
Step 1: Access Your Website’s File Manager
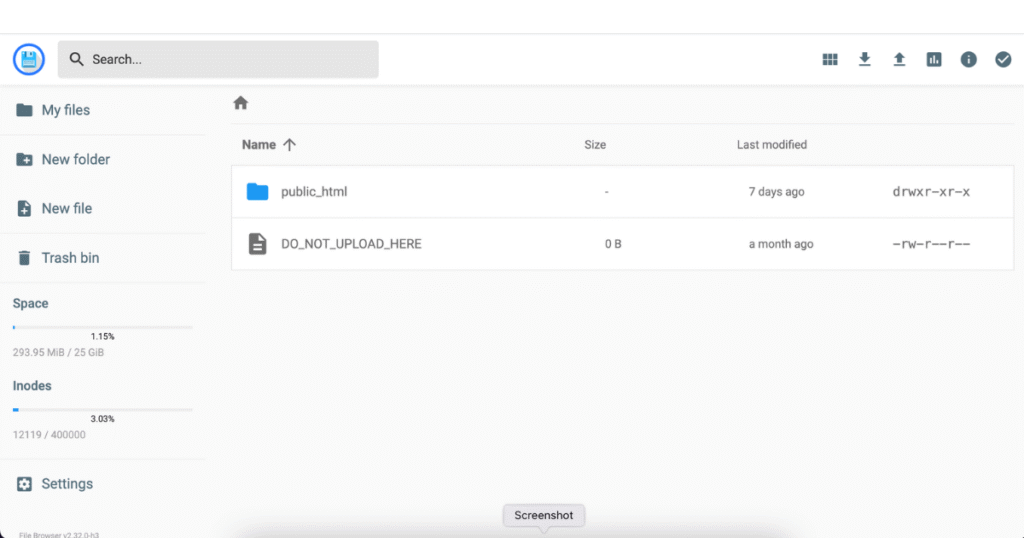
To begin, you’ll need access to your website’s File Manager, which you can find in your hosting control panel.
- If you’re using Hostinger, log in to your hosting account and go to hPanel. From there, click on File Manager.
- If you’re using another hosting provider like Bluehost, GoDaddy, or SiteGround, you’ll likely be using cPanel.
- Log in to your hosting dashboard.
- Search for and open File Manager.
The goal is to open the tool that lets you view and manage your website’s files.
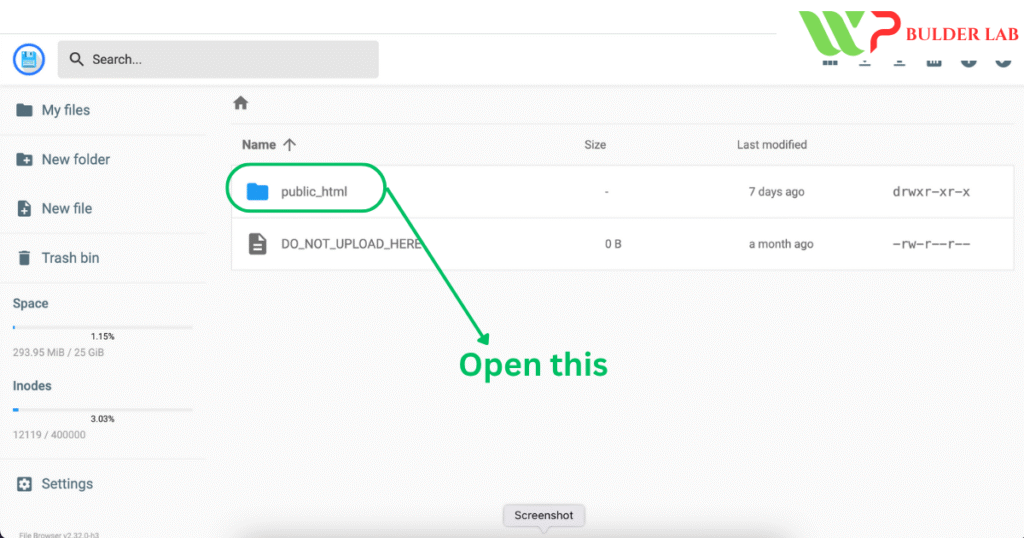
Step 2: Navigate to the Public HTML Folder
Once inside the File Manager, look for a folder named public_html. This folder contains all of your website’s core files.
- Double-click to open the public_html folder.
Learn More: How to add Footer Terms and Condition in Divi 5
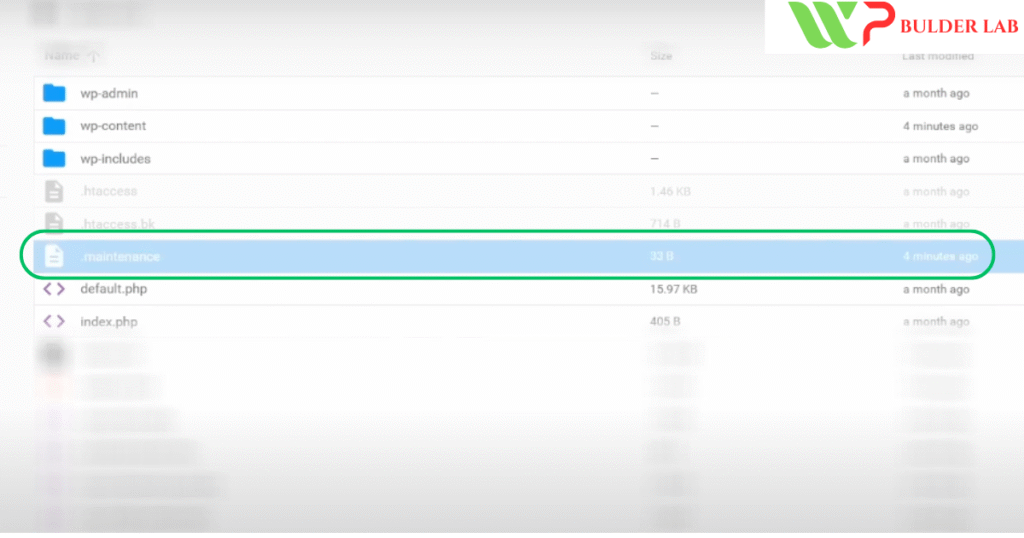
Step 3: Find and Delete the .maintenance File
In the public_html directory, you’ll see a hidden file named .maintenance. This file is automatically created when WordPress enters maintenance mode—and it’s supposed to delete itself after the update is complete. But if the update gets stuck or interrupted, the file remains there and keeps your site stuck in maintenance mode.
- Right-click on the .maintenance file and choose Delete.
- Confirm the deletion if prompted.
That’s it! You’ve removed the file that was causing the problem.
Step 4: Refresh Your Website
Now go back to your website and refresh the page.
If everything was done correctly, your site should be back to normal and the maintenance message should be gone.
Final Words: Don’t Panic—It’s a Simple Fix
Getting stuck in WordPress maintenance mode might seem like a big problem at first, but it’s actually one of the simplest issues to resolve. This situation usually happens due to a failed or incomplete update, and removing the .maintenance file is often all it takes to get things back on track.
To avoid this in the future:
- Don’t close the browser or refresh the page during updates.
- Always create a backup before making changes to your site.
- Try updating one plugin or theme at a time instead of all at once.
If, for some reason, deleting the .maintenance file doesn’t work—or you can’t find the file at all—you might want to contact your hosting provider’s support team. They can guide you through additional troubleshooting steps.Thanks for following along with this guide! If you have any questions or run into problems, feel free to leave a comment—I’m here to help.
Learn More: Divi vs Elementor for WooCommerce: Which Page Builder Is Best for Online Stores in 2025?